Why is my roof leaking?
Check when the leak occurs and whether the wet patch is below a slope, junction or valley.
Read guide →Rainwater is supposed to shed from the covering into gutters. Trouble develops where laps, flashings and junctions are interrupted or water is held back.
Not sure of the cause? Use the leak finder →
Check when the leak occurs and whether the wet patch is below a slope, junction or valley.
Read guide →A single displaced slate can expose the underlay or leave a direct path for wind-driven rain.
Read guide →Look for cracks, broken nibs, poor laps and whether adjacent tiles still shed water.
Read guide →Lead flashings, back gutters, pointing and chimney masonry each need separate inspection.
Read guide →Check whether the flashing is correctly chased, lapped and dressed without relying on sealant alone.
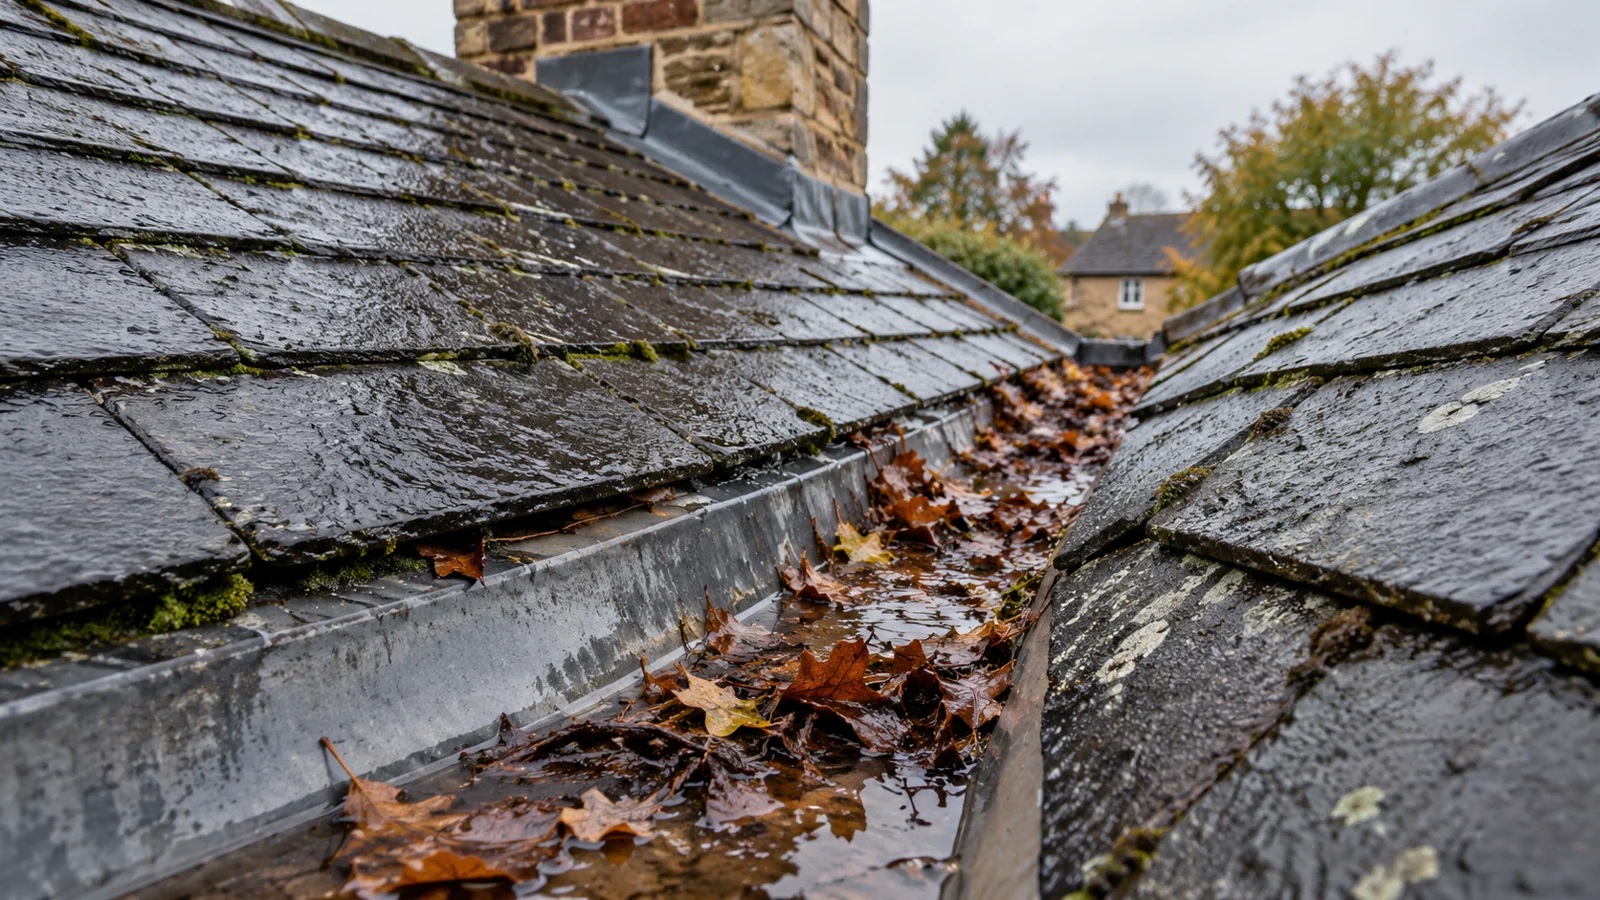
Read guide →Valleys collect runoff; obstructions, deteriorated linings and inadequate laps can concentrate water.
Read guide →Consider defective mortar, dry-ridge fittings, wind exposure and water travelling along the ridge.
Read guide →High rainfall can reveal poor outlets, shallow laps and overflowing roof details that cope in light rain.
Read guide →Wind can drive rain under laps and against flashings that normally shed vertical rainfall.
Read guide →Hidden cracks, defective junctions and condensation can all produce wet marks without obvious gaps.
Read guide →Differentiate failed glazing seals, flashing kit defects and condensation on cold reveals.
Read guide →Underlay is a secondary layer, not a substitute for sound coverings and correct drainage.
Read guide →Check dormer cheeks, apron flashings, flat roof edges and window interfaces.
Read guide →Moss may obstruct drainage paths but is not itself proof of a failed roof covering.
Read guide →Old soot salts and condensation can resemble rain penetration; look for timing and location.
Read guide →Inspect verge tiles, mortar bedding, dry verge components and exposed underlay edges.
Read guide →The location of the pointing matters: some mortar joints are weathering details, others are not primary waterproofing.
Read guide →Locate whether moisture is dripping from covering defects or collecting as condensation below the roof.
Read guide →Water can track down rafters, felt, cables and ceiling joists before becoming visible.
Read guide →Hip tiles, end caps, adjoining slips and laps deserve careful examination.
Read guide →Roof penetrations and fixings can damage the covering or create unexpected water routes.
Read guide →Inspect disturbed tiles, roof hooks, cable penetrations and flashing details, not the panels alone.
Read guide →Ask for evidence that the general covering is failing rather than only one accessible detail.
Read guide →Specify fault location, safe access, materials, junction detail and making good, rather than a vague treatment.
Read guide →Freeze-thaw damage can break vulnerable tiles, particularly where moisture is retained.
Read guide →The original cause may have been missed or the repair may have altered the water path.
Read guide →Snow and slow thawing can expose details differently from ordinary rainfall.
Read guide →Debris can hold water back and redirect it beneath otherwise sound laps.
Read guide →Look at fixings, slipped slates, overall condition and evidence of repeated failures.
Read guide →Temporary coatings rarely replace diagnosing defective slates, flashing or water-management details.
Read guide →